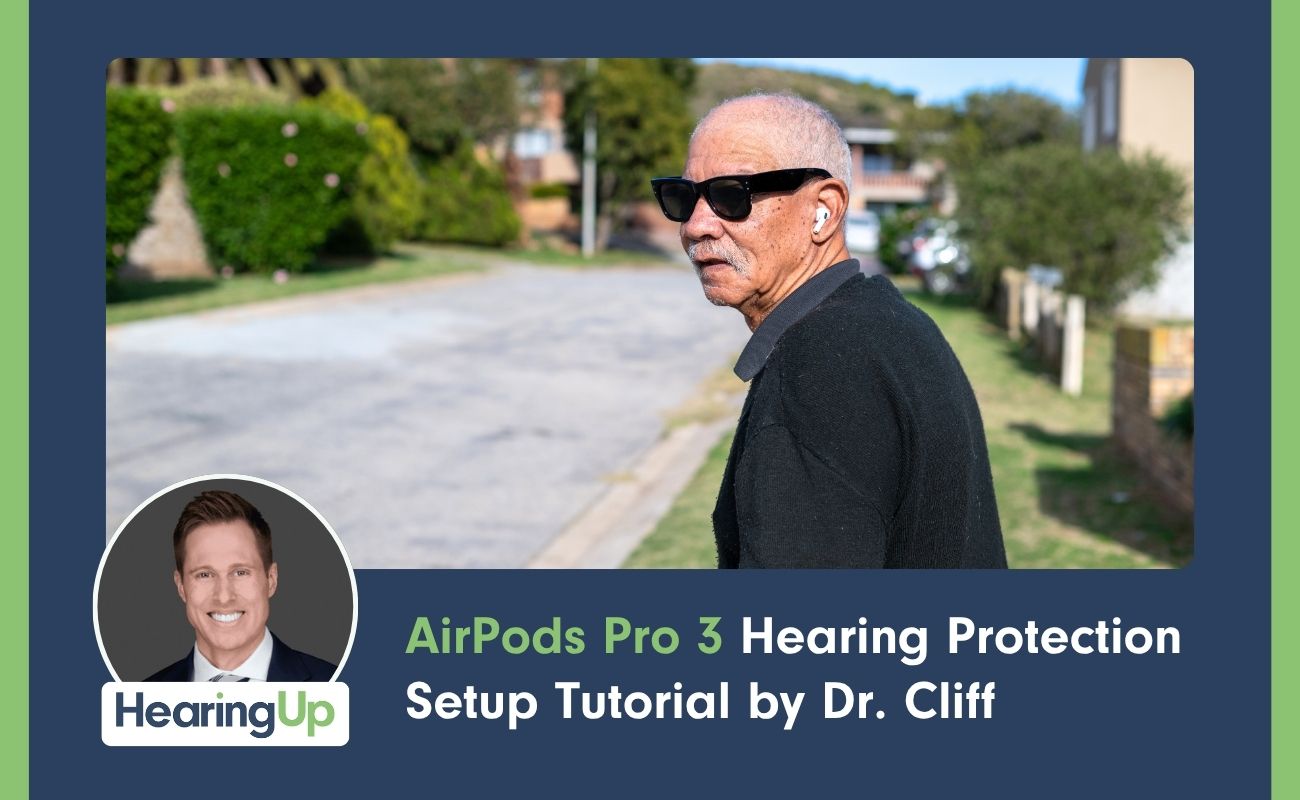
If you've picked up a pair of AirPods Pro 3 and want to use them as hearing protection, you're in the right place.Let me walk you through the exact setup process step by step.
What Apple Introduced With iOS 18.1
Back in October 2024, Apple released iOS 18.1, which brought two significant hearing features to the AirPods Pro lineup. The first turned AirPods Pro 2 into clinical-grade over-the-counter hearing aids for adults with perceived mild to moderate hearing loss. The second introduced a hearing protection feature, both of which carried over into the AirPods Pro 3.
This tutorial focuses exclusively on the hearing protection setup. I have separate videos covering the hearing aid feature and detailed reviews of both functions, which you can find linked in the video description.
How Much Protection Do They Actually Provide?
A few things worth knowing before we get into the setup. If the AirPods Pro 3 run out of battery, you can still use them as passive hearing protectors, but you'll only get around 10 dB of noise reduction, which isn't much. The protection increases significantly depending on which listening mode you're using:
- Transparency mode — up to 18 dB of sound attenuation
- Adaptive and Noise Cancellation modes — up to 30 dB of attenuation in 110 dB environments
That's a meaningful difference in how long you can safely spend in a loud environment, but only if you've set everything up correctly.
Step 1 — Check Your Hardware
You'll need either an iPhone or an iPad capable of running iOS 18.1 or newer. If your device can't run that software version, the hearing protection feature simply won't appear in your settings.
Step 2 — Update Your iOS
Go to Settings → General → Software Update to confirm you're running iOS 18.1 or later. If you're not, run the update first. It can take up to an hour, so plan accordingly.
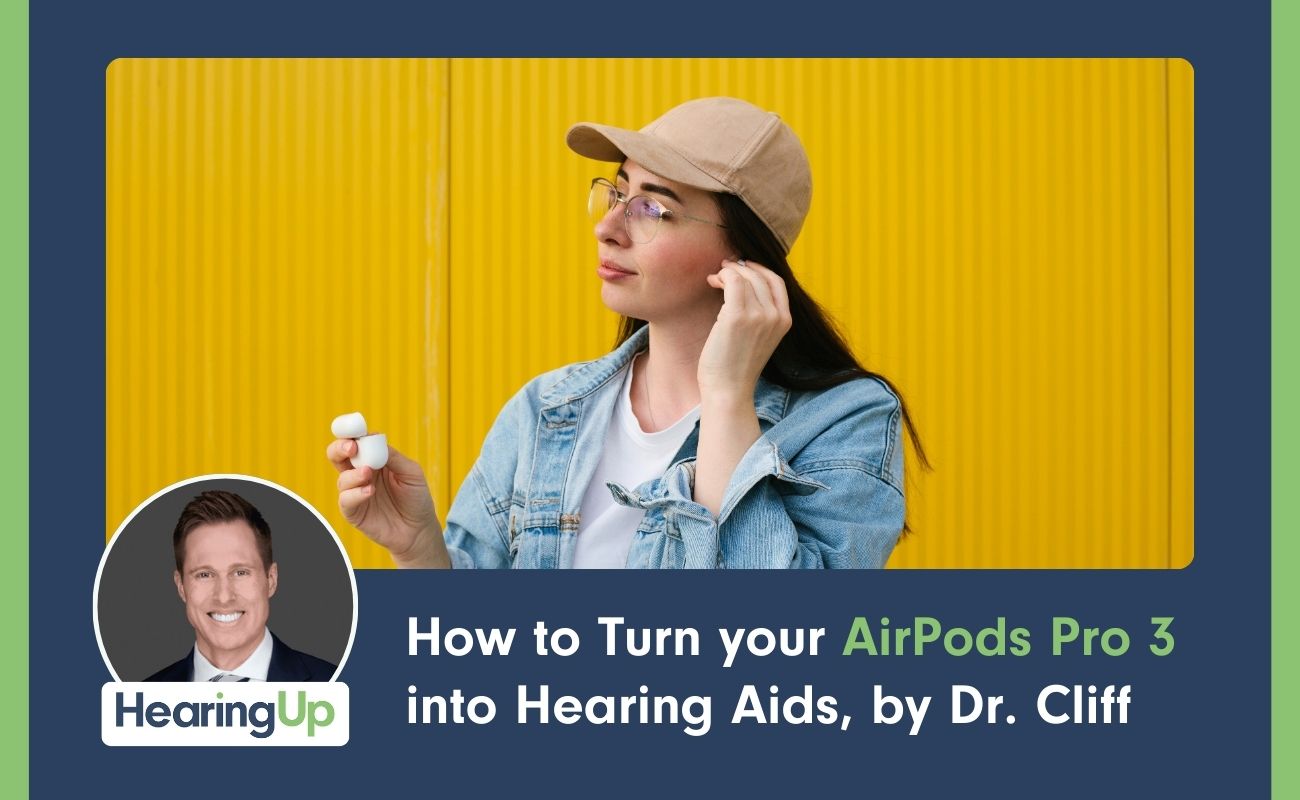
Step 3 — Pair Your AirPods Pro 3
Open the lid of the case near your iPhone. Your phone should automatically detect the AirPods Pro 3 and prompt you to connect. Once you tap Connect, double-tap the front of the case (note that the push button from the AirPods Pro 2 is gone). You'll see a flashing light on the case when it's ready. Follow the on-screen prompts and you're paired.
You can access AirPods Pro 3 settings either from the top of your Settings screen or through Settings → Bluetooth → tap the blue "i" icon next to your AirPods.
Step 4 — Update the AirPods Firmware (The Part That Trips Everyone Up)
This is the part of the setup that always causes confusion. When you first connect the AirPods Pro 3, you may not see the Hearing Protection and Hearing Assistance options in the settings screen. That's because the firmware inside the AirPods needs to update first.
Unfortunately, there's no quick way to force this. The process is: place both your iPhone and the AirPods Pro 3 (lid closed, in the case) near each other while plugged in, and let them sit. It typically takes 30 minutes to an hour, though in some cases it may take overnight.
Once the firmware update completes, you should see Hearing Protection, Hearing Assistance, and Take a Hearing Test appear in your AirPods settings. I learned this the hard way — I got my AirPods Pro 3 right before a concert I planned to test them at, and the firmware update didn't finish in time. I ended up using filtered musician's earplugs instead. The concert was great. I was less than thrilled.
Step 5 — Get the Right Physical Fit
AirPods Pro 3 come with a medium ear tip installed by default. Additional sizes are included — extra extra small, extra small, small, and large. Getting the right fit is not optional. A poor seal means sound is leaking around the ear tip, which significantly reduces the level of protection you're getting.
To remove an ear tip, invert it slightly for a better grip, then pull straight off. To reattach, flip it back into shape and snap it onto the stem.
To check your fit:
- Put the AirPods Pro 3 in your ears
- Go to Settings → AirPods Pro 3 → Hearing Protection
- Tap Test Acoustic Seal
- Follow the on-screen prompts
The test generates an internal sound and measures how much is leaking out. If it detects leakage, it will flag which ear and tell you to try a different tip size. Keep testing until both ears show a good seal.
If you're unable to get a good acoustic seal with the standard tips, some audiologists can create a custom ear sleeve so the AirPods fit your ear canal precisely. To find a qualified provider near you, head to the Find a Provider section at the end of this article.
Step 6 — Choose Your Listening Mode
Once you have a good seal, select the listening mode that fits your situation:
Transparency Mode — You can still hear your surroundings. This provides the least protection of the three modes, but it's useful when you need situational awareness.
Noise Cancellation Mode — Maximum protection. Best for sustained loud environments like concerts, power tools, or machinery.
Adaptive Mode — A blend of the two. In quiet or moderate noise, it allows ambient sound through. As noise increases, it shifts toward protection automatically. This is a solid choice if your environment changes throughout the day.
Find a Best Practice Provider Near You
If you want to get the most out of your hearing health, whether that's using tools like the AirPods Pro 3, getting a proper hearing evaluation, or exploring prescription hearing aids, working with the right provider makes all the difference.
Every audiologist in the HearingUp Network has been personally vetted by me and is committed to following comprehensive best practices, including Real Ear Measurement for all hearing aid fittings.
If you're ready to take your hearing seriously, visit HearingUp.com and use the Find a Provider tool to connect with a qualified hearing care professional in your area.

.png)


.jpg)